AI Claim Processing
Step 1 - Insurance System Defaults - Enter any changes to the insurance default tables located in the System Settings and Pick List section.
(Carrier Types, Place of service codes, etc..)
Step 2 - Insurance Manager - Enter insurance companies profile in the Back Office - Insurance Tab
For the each Insurance Companies enter the insurance policies available to patients.
Also for US clients enter the insurance CMS claim information where appropriate.
Step 2a - For automated Insurance Claims - Enter for the eligibility rules for the each insurance policy
Step 2b - For automated Insurance Claims - Enter the billing rules for the each insurance policy
Step 2c - For automated Insurance Claims - Test each eligibility and billing rule via the rule tester and correct any errors.
Note: If you do not wish to use the automated Claims function do not complete step 3a to 3c. You will need to manually enter claims at invoice time. You can manually edit any claim before sending or printing the claim.
Step 3 - Provider Information
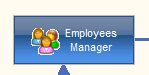
FOR USA Clients - Create your Providers in the Employee Manager module. Enter all CMS information required for a given provider.
(NPI number, Billing info etc...)
|
|
For Canadian Clients - Provider Information - Create your provider information in the Insurance Manager (Insurance Companies and Plans) profile for the given Claims Connector.
|
|
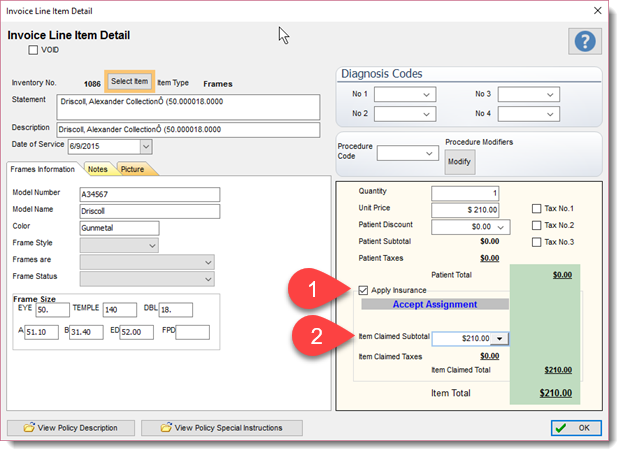
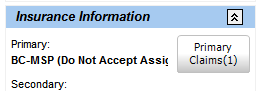
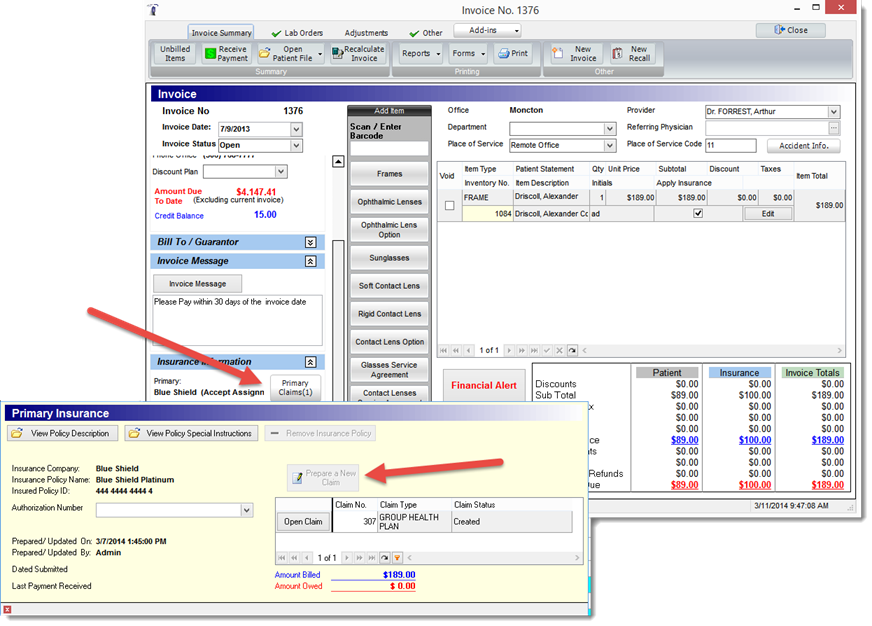
Step 4 - Patient Insurance Policies - In the Patient file, create and activate the insurance policies record for claim billing. (primary, secondary, etc...) You must enter the CMS patient information in this section.
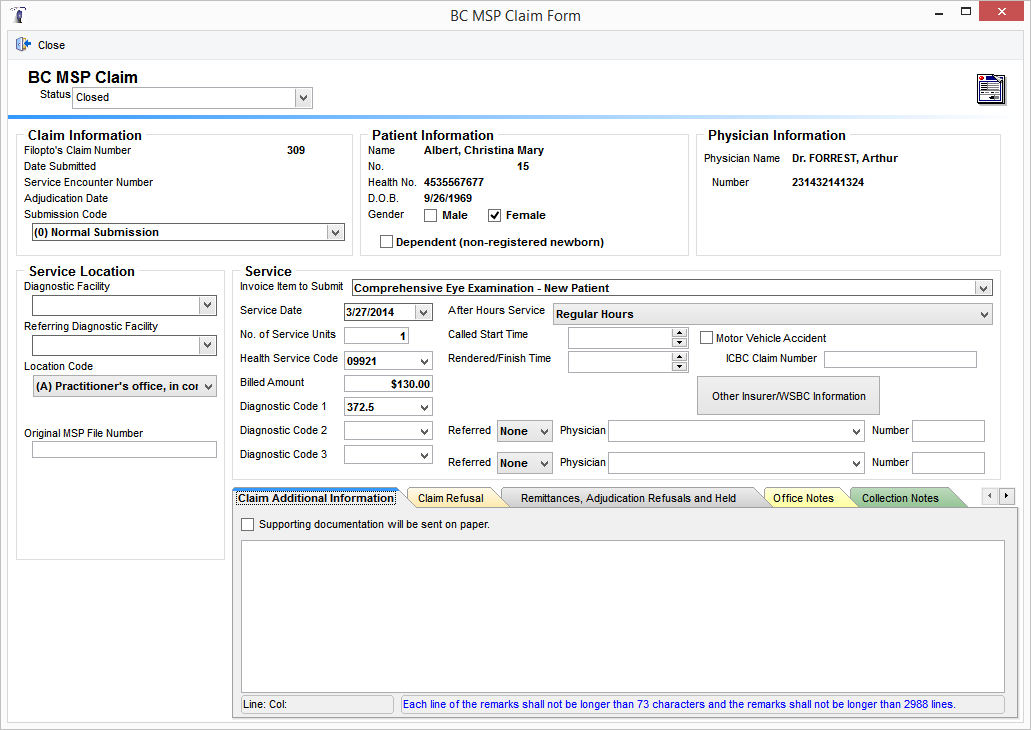
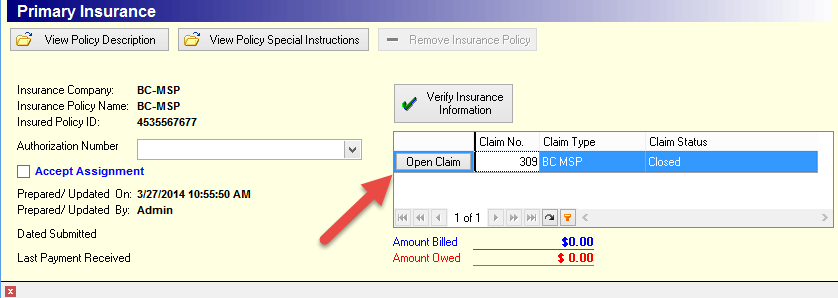
Step 5 - Invoicing - At Invoice time, the insurance policies identified in the patient file will automatically be used for claim processing. Once the invoice is completed you can generate the claim by entering the claim section and pressing the Prepare/Update claim button. This button activates the automated claim function. If you are not using the automated claim function, you must manually enter the claim information for billing purposes. Once the claim is prepared, it will enter the date in the screen of the date when the claim was prepared.
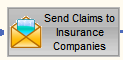
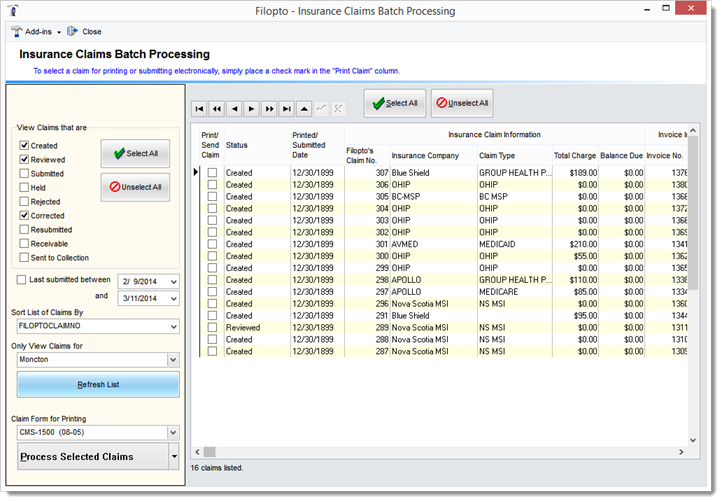
Step 6 - Batch Claims Processing - To send or print the claim open in the Back Office Insurance tab the button Send Claims to Insurance Company. From this screen you can select the Claim Connector for your region (CMS or Canadian Claim Connectors) to send your claims. For printing CMS Claims, only use the claim forms specified by the CMS organization. All other forms will be rejected by the insurance companies.
|
|
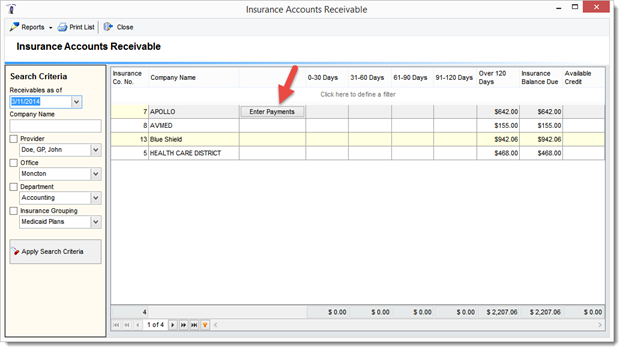
Step 7 - Insurance Payments - Record insurance payments - Open the Accounting Insurance Account Receivable screen and select the "Enter Payment by Insurance Company" button. You can record all payments and adjustments as well as reject codes for later analysis.
|
|